Showing posts with label crafty. Show all posts

Tuesday, December 14

DIY Playkitchen!

Before reading any further you should go back and read this post, so you're all caught up :)
I apologize for taking so very long to post the second installment.

But if you can remember that far back, this is what our nightstand looked like before we got a hold of it and transformed it into a playkitchen for the peanut!


And this is what it looks like now:


Ta Da!!!


A real faucet with moveable knobs!
A "sink" made out of a stainless steel bowl,
Burners made out of popscicle sticks,
and stove dials that also move!


A sweet little chalkboard on one side to write out menus,

And a shelf that I made in woodshop approximately 100 years ago, on the other side! 


And inside we have a cookie cooling rack for an oven shelf!


A clock with hands that move,
a hook for hanging potholders or utensils,


And other pretty little details! 


So what do you think?  Is it an improvement?
Peanut loves it, and has spent many hours since we've given it to her, playing hostess.  She is constantly making cookies, or soup or pizza and serving it to anyone who comes into the house!

So all in all, we're pretty please with the result, and I think it was a pretty fantastic early birthday present!

Monday, November 29

Christmas Crafts!

Now that we have celebrated Thanksgiving I believe it is now appropriate to fully embrace the Christmas season!  (Thanksgiving is my very favorite holiday!- Christmas is a close second)
  
So I'll let you have a look at our Christmas activities so far....
     (Please keep in mind that I am not artistic by any stretch of the imagination, so if my Christmas tree drawing looks crappy please blame it on me and not on the artistic promise of my poor offspring!) Also she has only just turned two and been granted the honor of actually holding a glue stick.

A "pretty tree" according to Emma :)


 I'm calling this craft the "Charlie Brown tree", but surprisingly she spent like 20 minutes (an eternity in two year old time) hanging the "ornaments".   So I call that a success!


Thinking very serious thoughts, I'm sure....


And yes, we always craft wearing all our fine jewelry!


 And here we have mommy's super cheap and easy muffin tin advent calendar! The little circles are magnetized and will be filled with little treats in a few days!!!


And this one is just cute... she is seriously getting to be so big!


Happy Monday Everyone!

Photobucket

Wednesday, September 29

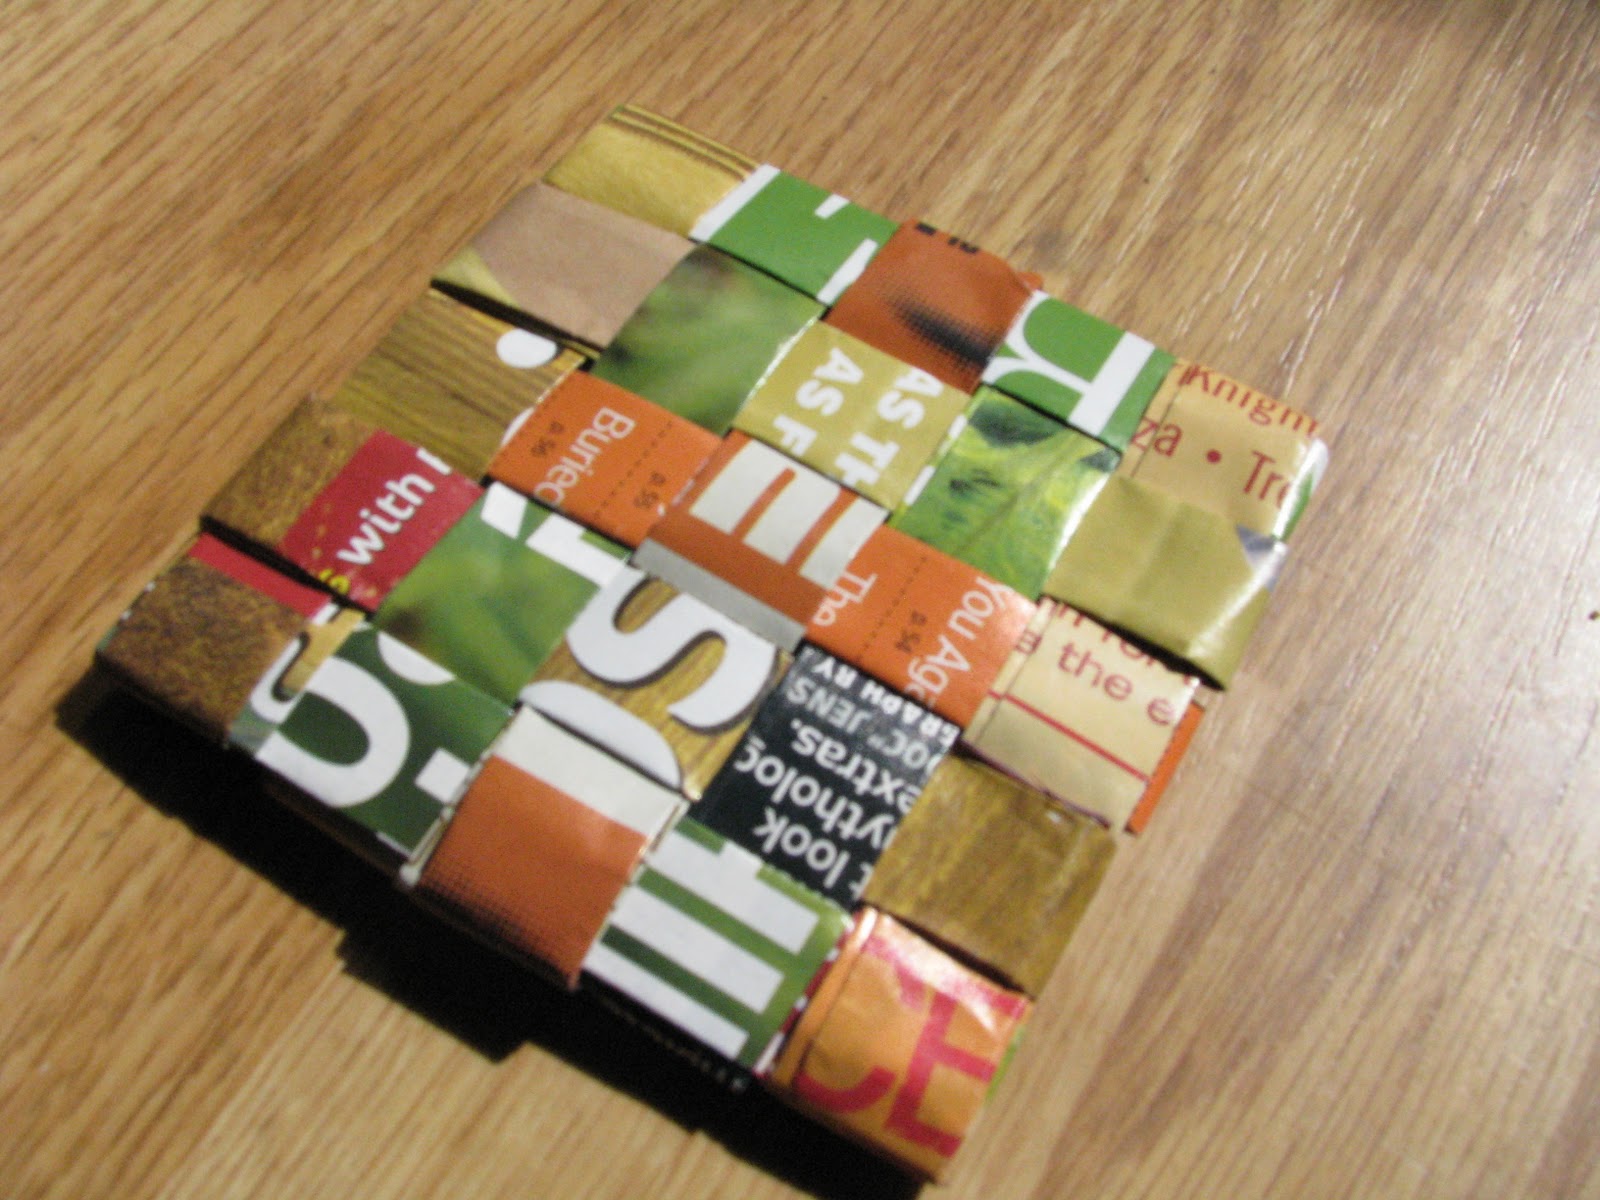
Recycled Magazine Coaster

Look what I made at naptime this morning!

 I have a stack of Entertainment Weekly Magazines just sitting in my bathroom, and I hate to throw them out, so this is the perfect solution!

I just followed This Easy tutorial  over at   How About Orange 


Incidentally, this is now one of my favorite sites on the internet.  Her DIY collection is incredible and makes me want to run to a craft store and blow hundreds of dollars on lovely supplies.

Alas, there is not enough time in the day or money in the bank to do as much as I would like to.  But these little beauties are both free and earth friendly (although slightly time consuming- this one took me about 40 minutes, but I bet the next one would be a little faster)


Photobucket

Wednesday, September 15

Super Simple Toddler Activity

So I wanted to share a delightfully simple activity Emma and I did together yesterday morning.  She has been very interested in colors lately, and can name all the basic ones.  And sometimes she even matches the correct name with the correct color! For example, she calls one pair of her shoes "the pink shoes". 
    Since she is so interested, I thought I should come up with a project to explore the concept a bit further.  I wanted it to be both a learning experience and a fun game! I figured I'd share what I came up with:

I first cut pom-poms in half and glued them on to the bottom of an egg carton
(I used hot glue, but you could probably use other kinds of glue)
And that's pretty much it, then you just take a couple pom poms of each color
 and place them in the coordinating colored cup


It's surprising how big a hit something this simple can be!

Emma spent 30 minutes (eternity in toddler time)  taking these balls out and putting them back in
It took her a few minutes to figure out the concept but once she did, she was pretty excited! And I was impressed with her super amazing color-sorting skills.

Enjoy!


Photobucket

Monday, August 16

Froofiness


For those of you who aren't friends with me on facebook, here are some pictures of Miss Emma-Jean frolicking around in the tutu and matching hairband I made for her last week.   I had so much fun picking out the tulle!  This might be my favorite part of having a daughter yet.

Wednesday, August 11

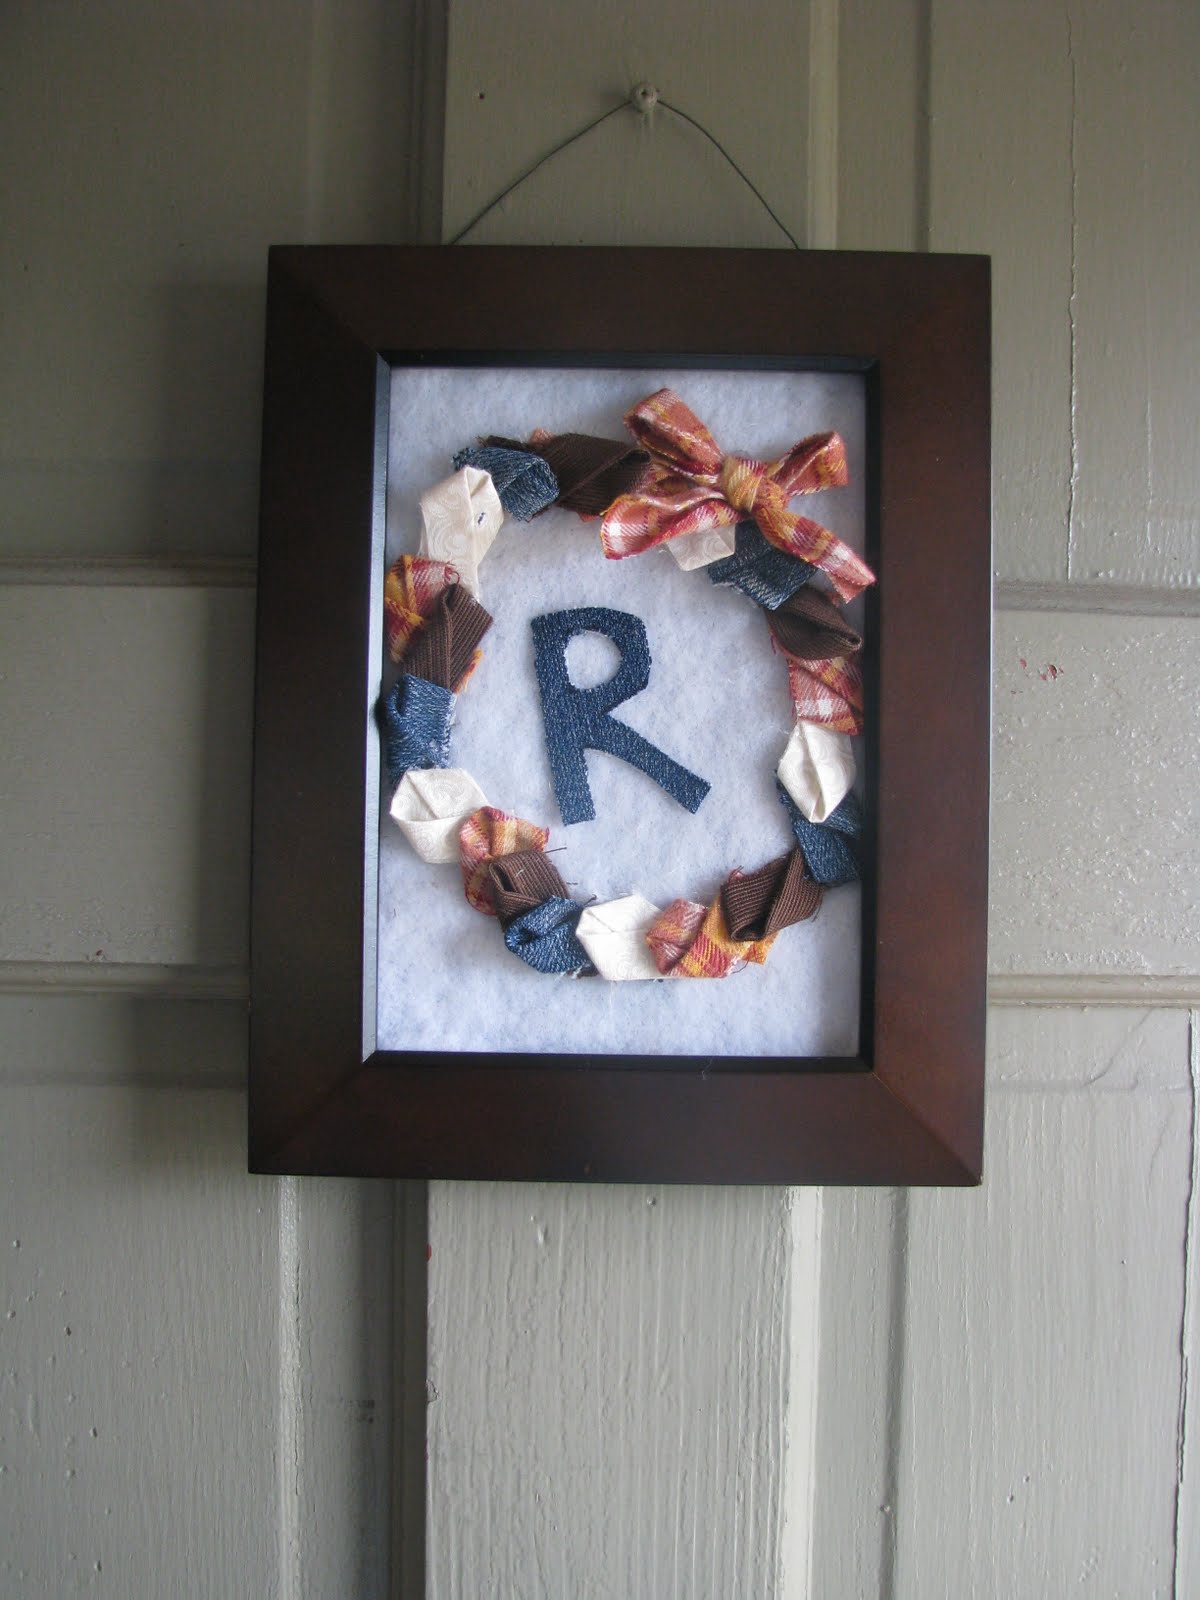
Front Door Bling


This was my morning naptime project!  It was inspired by This Tutorial  over at V &Co and the fact that I have several yards of that orange plaid flannel and I had no clue what to do with it.  My husband may or may not have worn it as a kilt to a college event back in his "glory days"... But I think it paired nicely with some jean scraps, and the cream and brown fabric.  The frame we had laying around, so that makes this a 100% free mini project.  (Took an hour and a half start to finish, including picking out fabric)

Obviously my wreath isn't as gorgeous or classy as the tutorial but I think I love it all the same.  I also added the jean initial because I thought it needed a little something.

What do you think? Cute or cheesy?

Monday, August 9

Check out my new Knobs!

So I don't know about you guys out there, but every apartment that I've ever lived in has had the same bathroom faucet. You know the cheap Delta one with the see-through knobs?  They look like this:


Which is fine probably for the first two months you own it, and then they tend to start to grow stuff inside those pretty plastic knobs! And then it's not so pretty...  I've always assumed that there was no way you could actually clean inside them, and cursed whoever decided that was a practical design for a bathroom faucet!  Seriously?? Who thought this was a good idea?

But then, some friends of ours were nice enough to give us their old bathroom faucet to use for Emma's playkitchen, and I decided that it was not ok for Emma to play with something that had mold growing on the inside of it.  So I googled.  (Thank God for google, I honestly don't know how I would get anything done without it)

And it turns out there a tiny plastic cap at the top of each knob that COMES OFF!  How did I not know this????? All you have to do is to take a phillips head screwdriver, and gently pry the small plastic piece off the top of the knob.  There are even small indentations that make this task easier.  Then once that small plastic piece is off, you can take another screwdriver and unscrew the whole knob from the faucet.  That way you can submerge it in the cleaning liquid of your choice (I just use plain old white vinegar and a little baking soda)

Then the only problem that I was left with, was the fact that another genius over at the Delta bathroom faucet factory decided that putting a tiny mirrored piece of cardboard (?) in the plastic lid would be a good idea and there's no way to clean under that, without wrecking it.  (Mine just crumbled away actually, they were that old and gross)

It looks like this:

Please excuse the blurry pictures, we've got really crappy lighting to work with here on the NorthShore today

 You can't really see it in the picture, but there's all kinds of crud stuck in front of that mirrored piece, being magnified at the top of my now otherwise pristine faucet! 

This is where magic late night inspiration struck!  I could take those mirrored pieces off and replace them with small circles of fabric that matched her playkitchen!  Then put the new shiny faucet back together and call it a day.   So here's how it looks now:


Isn't that super cute?? I felt like a genius when this idea actually worked :)  Don't you love that feeling?
So of course I also had to clean my bathroom sink and replace the mirrored piece there as well.  Hope the landlord doesn't mind too much!   For my bathroom sink, I used a simple blue curtain material with a little bit of shine.  I didn't take a picture of the knobs assembled in my bathroom, but here's a blurry late night picture of my new knobs!  (oh man, there's a sentence I never thought I'd type!)


note the hubby working hard at cleaning grime in the background!
So there's my cleaning tip for the year! This could really help lengthen the lifetime of your bathroom hardware, and the best part is that you could change the fabric anytime you choose!  So if you are re-decorating your bathroom, you could change the fabric in there as well.  Or you could get really fancy and cut a piece of your own glass to put in there, and that would look pretty darn classy!  And for a kid's bathroom, you could go crazy and put really bold fabric choices in there like I did for Emma's new faucet. 

So what do you think?  And tell me honestly, did everyone know about this except me?  Or is this taking you guys by surprise as well?

 Happy Cleaning!

Tuesday, July 27

The Play Kitchen #1


A few months ago, Adam and I stumbled across this Tutorial on making a playkitchen out of a nightstand, and we fell in love.  We then spent the next few weeks scouring Craigslist for cheap/free nightstands that we could turn into little works of art like Jane did ( Jane is the name of the talented woman who writes at "Out of the Crayon Box")
After a lot of dissapointments and false offers, we scored big and grabbed this nightstand for $6.00!  Sweet, right?  It was, except that the top turned out to be a veneer nightmare!  It looked like this:

(Bella decided this was her new favorite sun spot and refused to move, so please ignore the sleeping kitty)


But now, about a month later, I'm excited to say it looks like this:


Hooray!!! Obviously we still have a ton of work to do, but the bones are there and they're pretty :)  Kudos to my awesome handy husband and all the friends whose tools he has borrowed over the last couple of weeks.    We're hoping to have it done by the end of the summer.  It was originally going to be a birthday gift for Peanut, but we couldn't wait until November!  So now her gift will probably be a super cute set of pots and pans from Ikea to go with her new stove. 

Also, I got excited and made her an apron to wear that matches the curtains (that I have also made already but will show you all when we do the big reveal!)


                                                                          (I love ruffles!)

So this is the project that has been keeping me busy and away from the blog at night.  Again, apologies.  But I think the end result will be worth it!

ps.  Welcome TTA friends!  Be sure to leave your blog name so I can find you and follow you back!
Related Posts with Thumbnails

Swagbucks